Debugging
This page teachs users to setup python debugger for dep-scan project.
Debugging using Pycharm
- Open
dep-scanusing pycharm, when you open the project for the first time it will take some time initializing everything.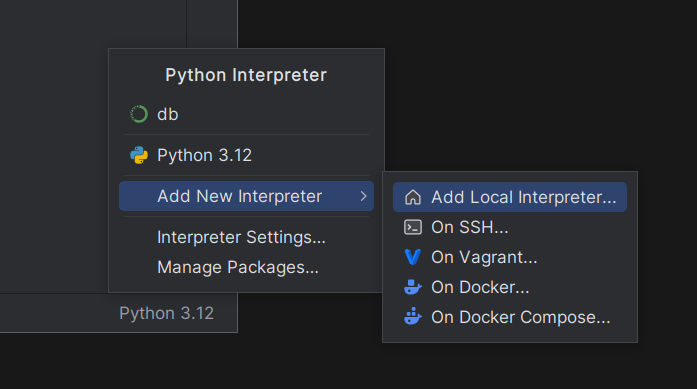
- Procede by updating your python environment set in Pycharm.
a. Click on Python3.x on the bottom right corner of Pycharm
b. Choose "Add New Interpreter" > "Add Local Interpreter".
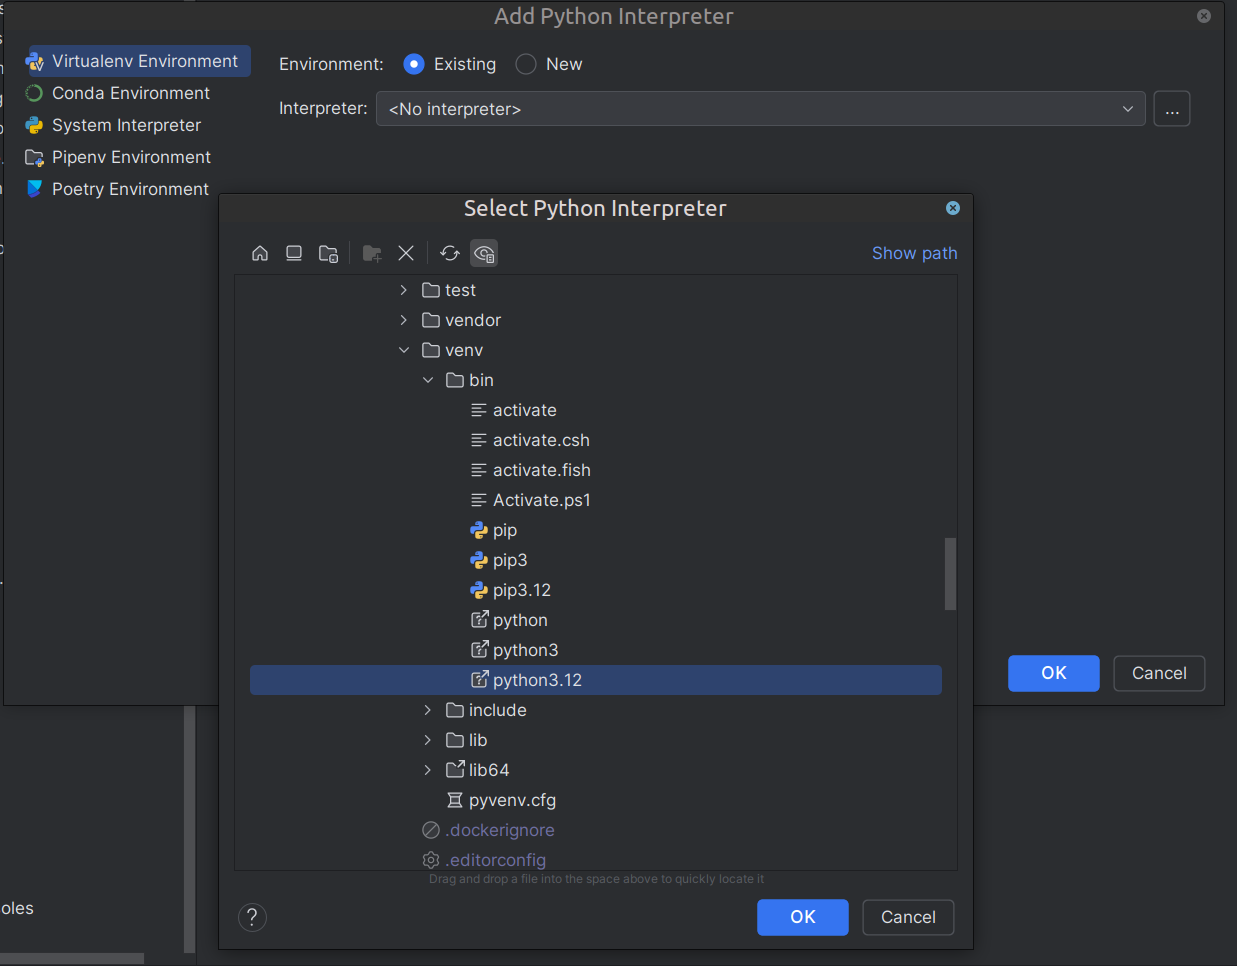
c. ChooseVirtualenv Environmentand existing and find thevenvfolder inside of dep-scan.(Can be different depending on your system)
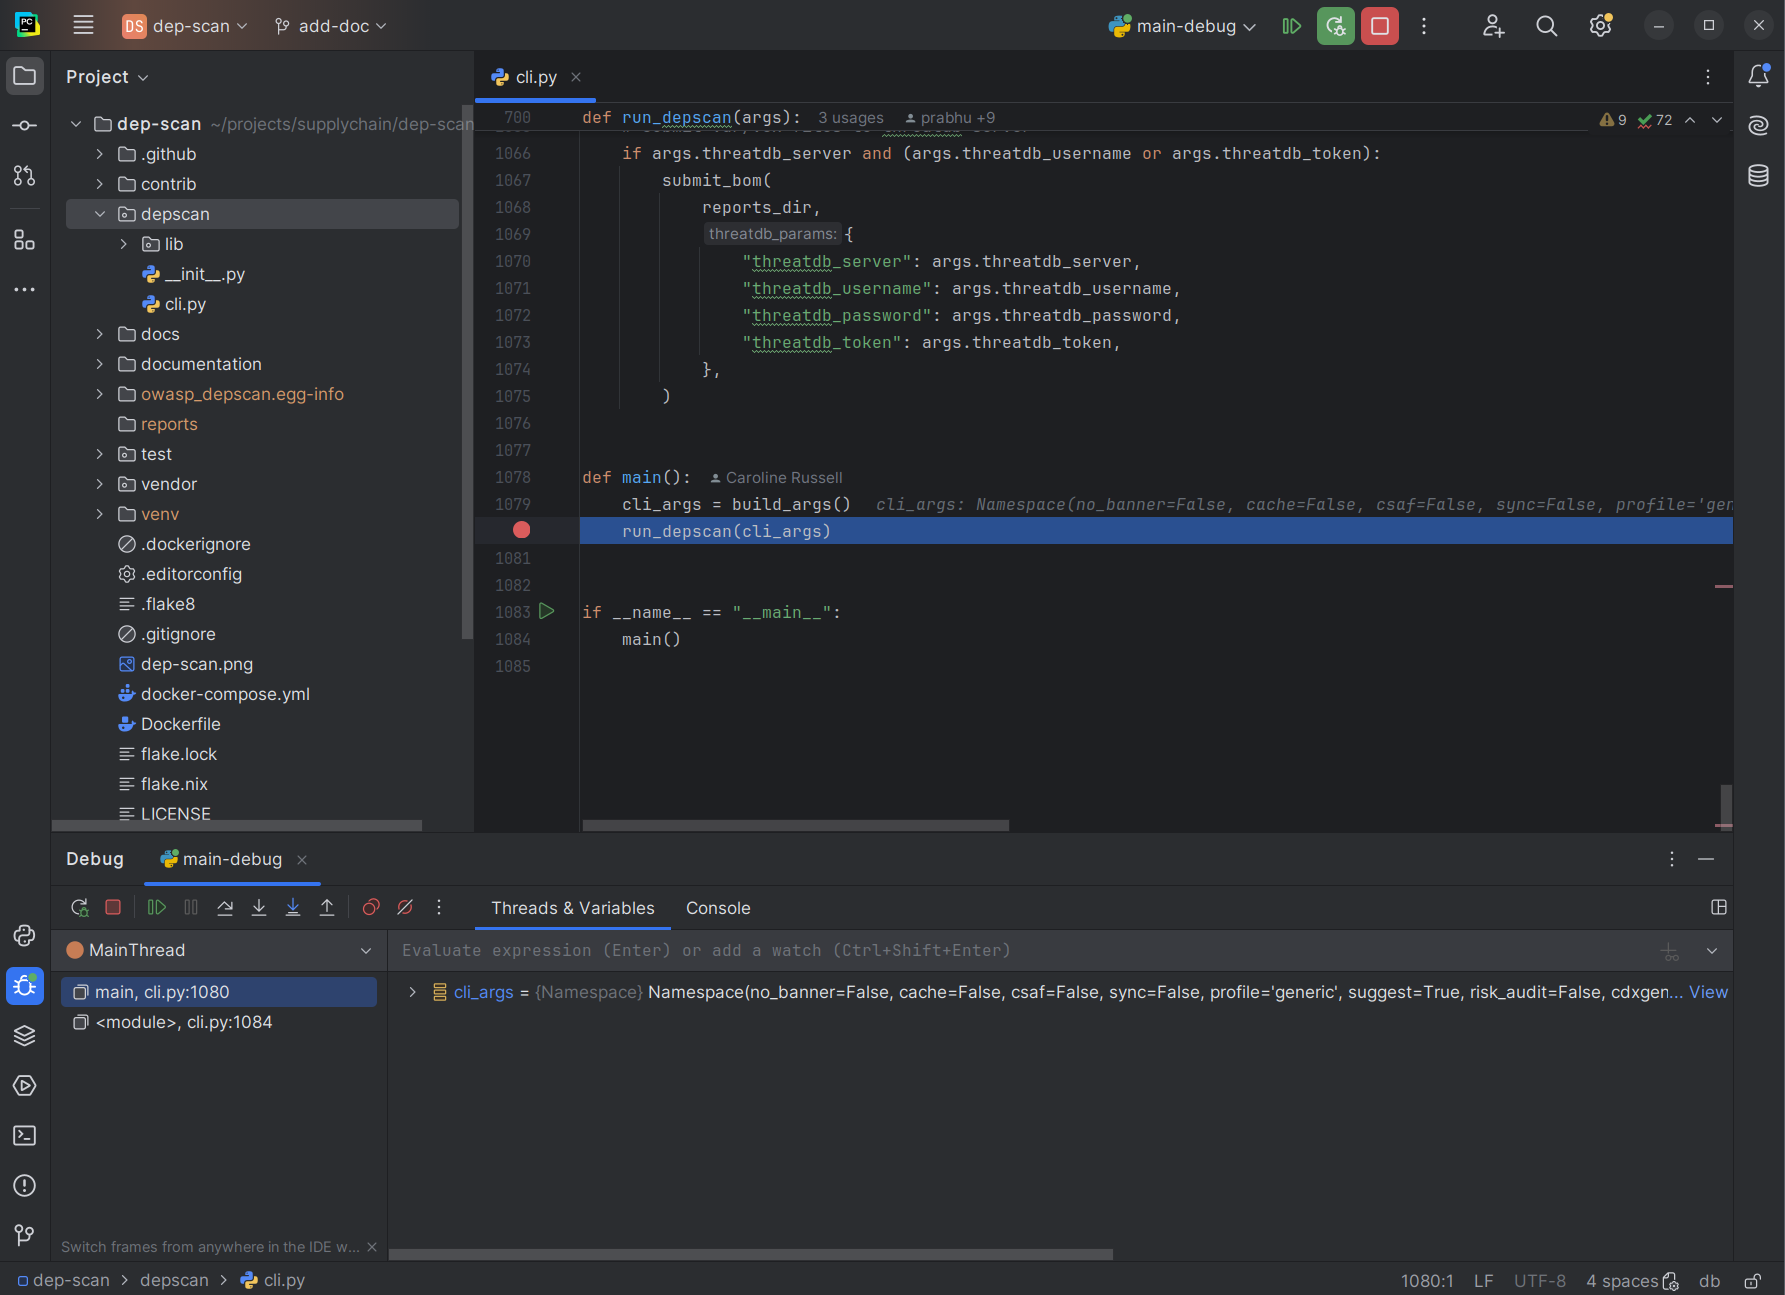
- You may add a debugger point to any part of dep-scan code. For example we are pointing it to
main()function indep-scan/cli.pyas this is activated whenever we run dep-scan using the cli.
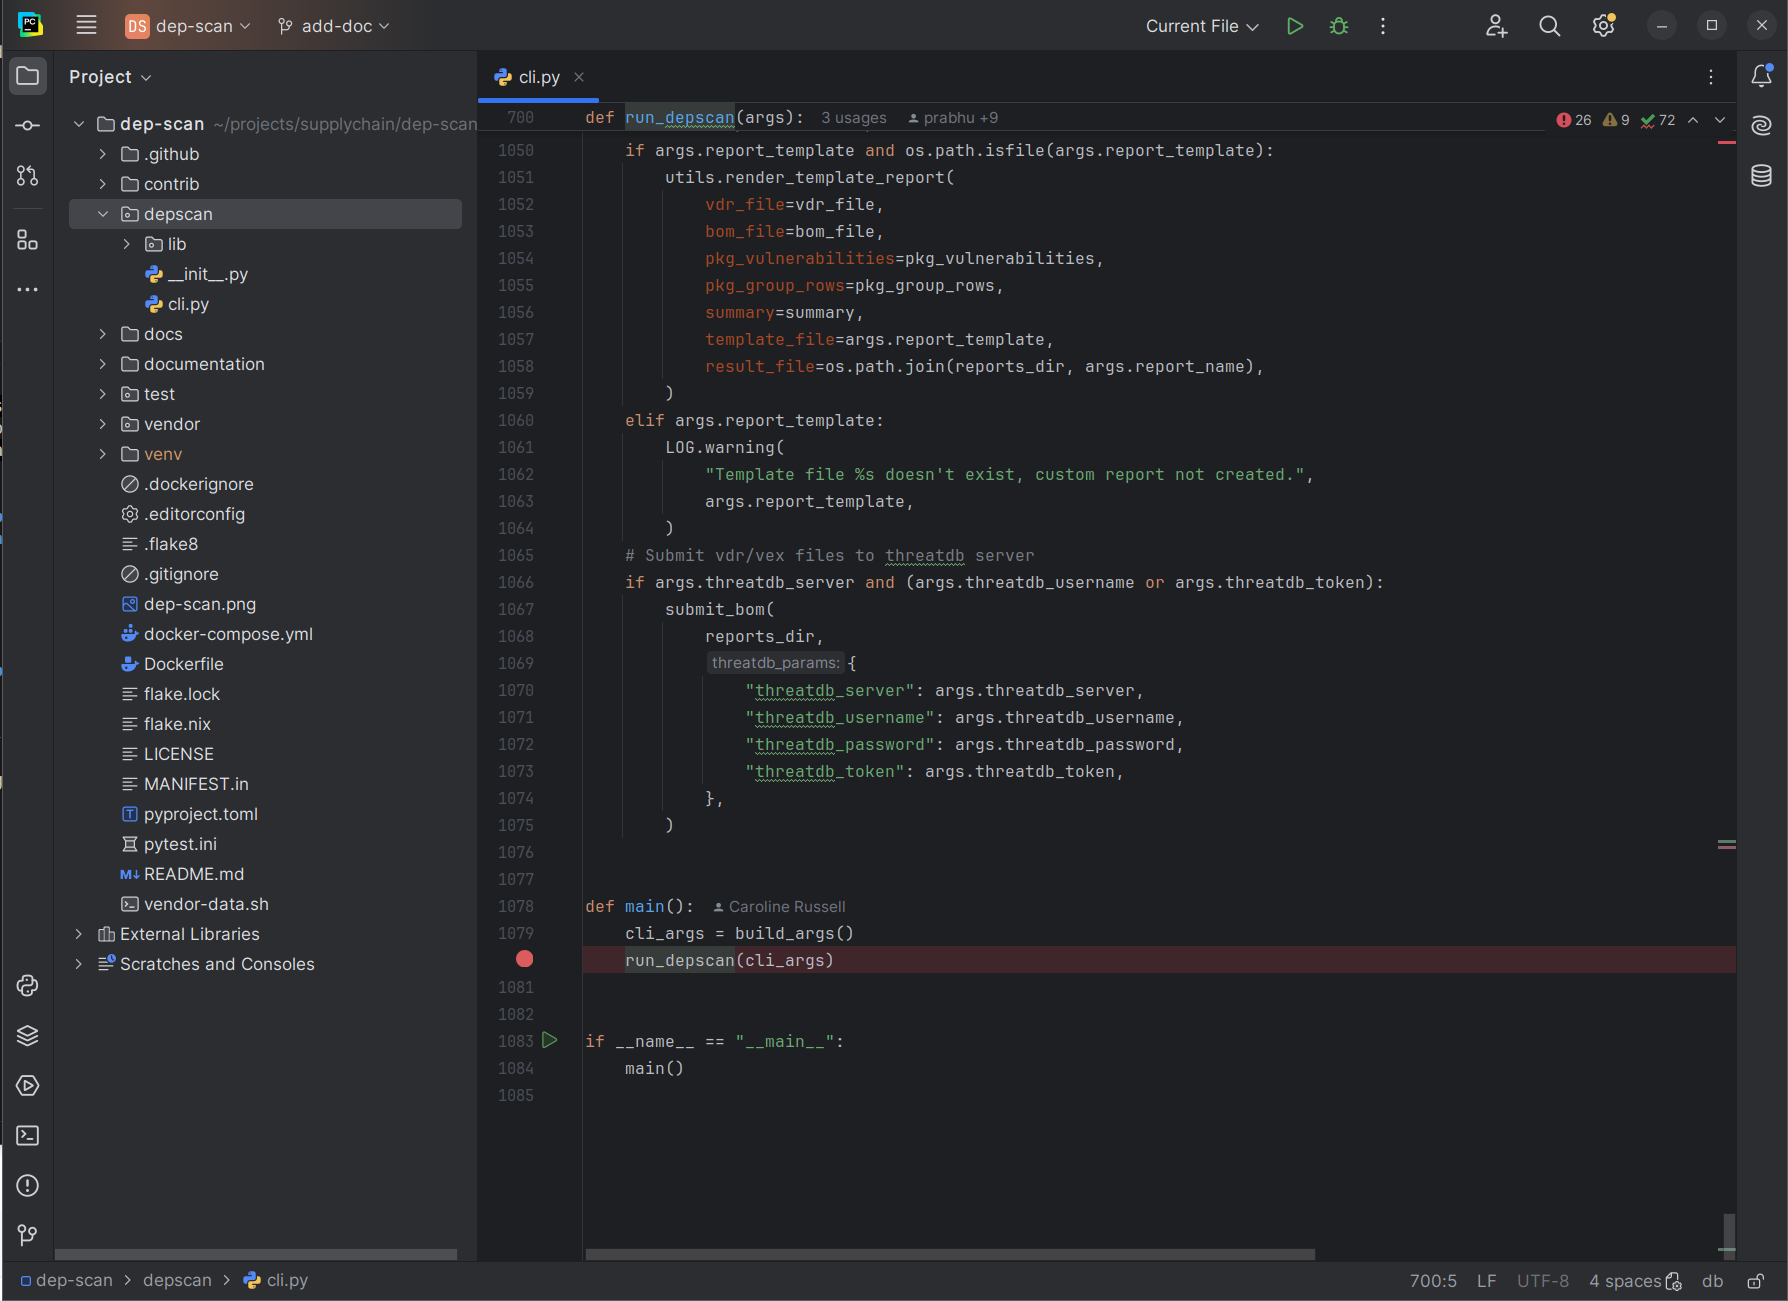
- Go to Pycharms top bar and click on "Current File" > "Edit Configurations...".

- Add a new configurations and choose "Python".
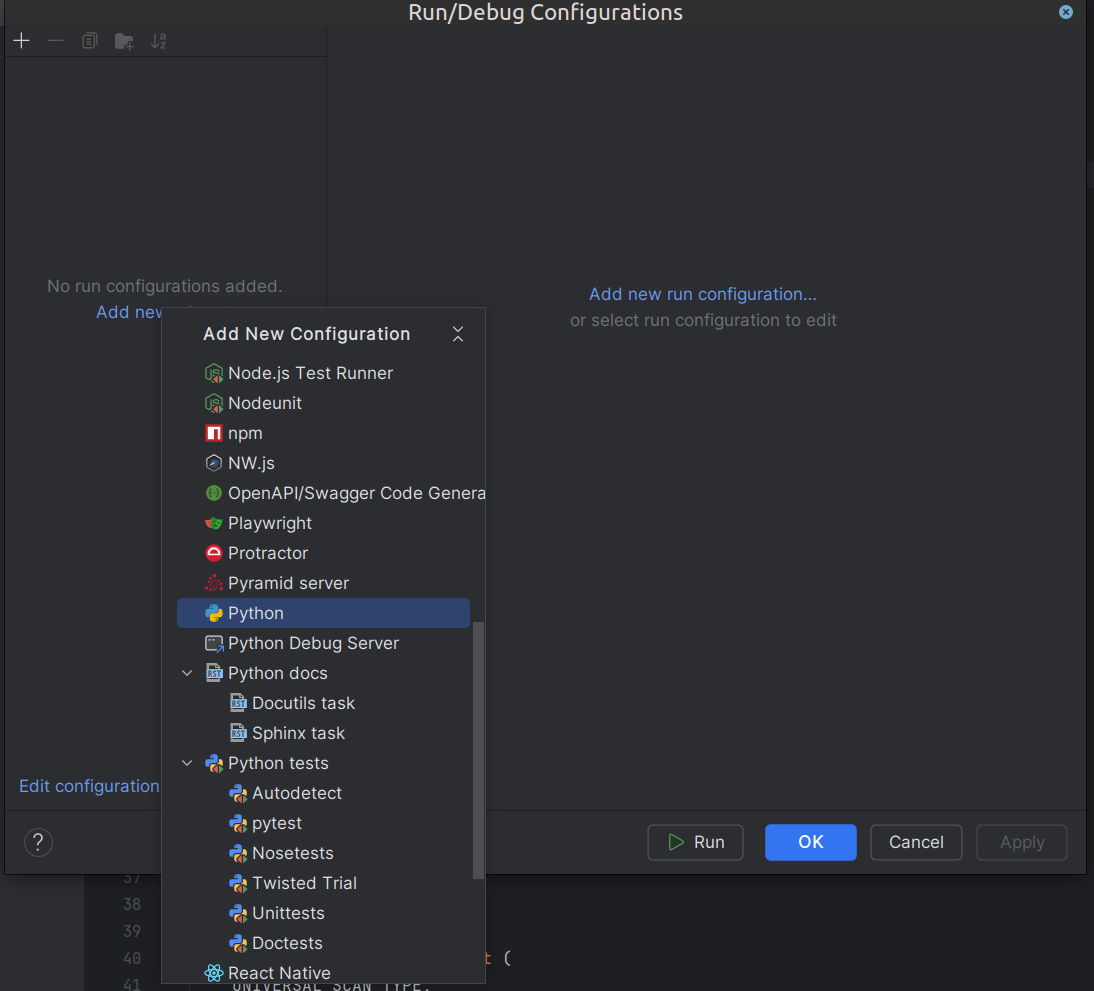
- In the following dialog:
a. add a name to your config
b. then next to script button choose thecli.pyfile.
c. add arguments that you want to test.
d. finally click on save.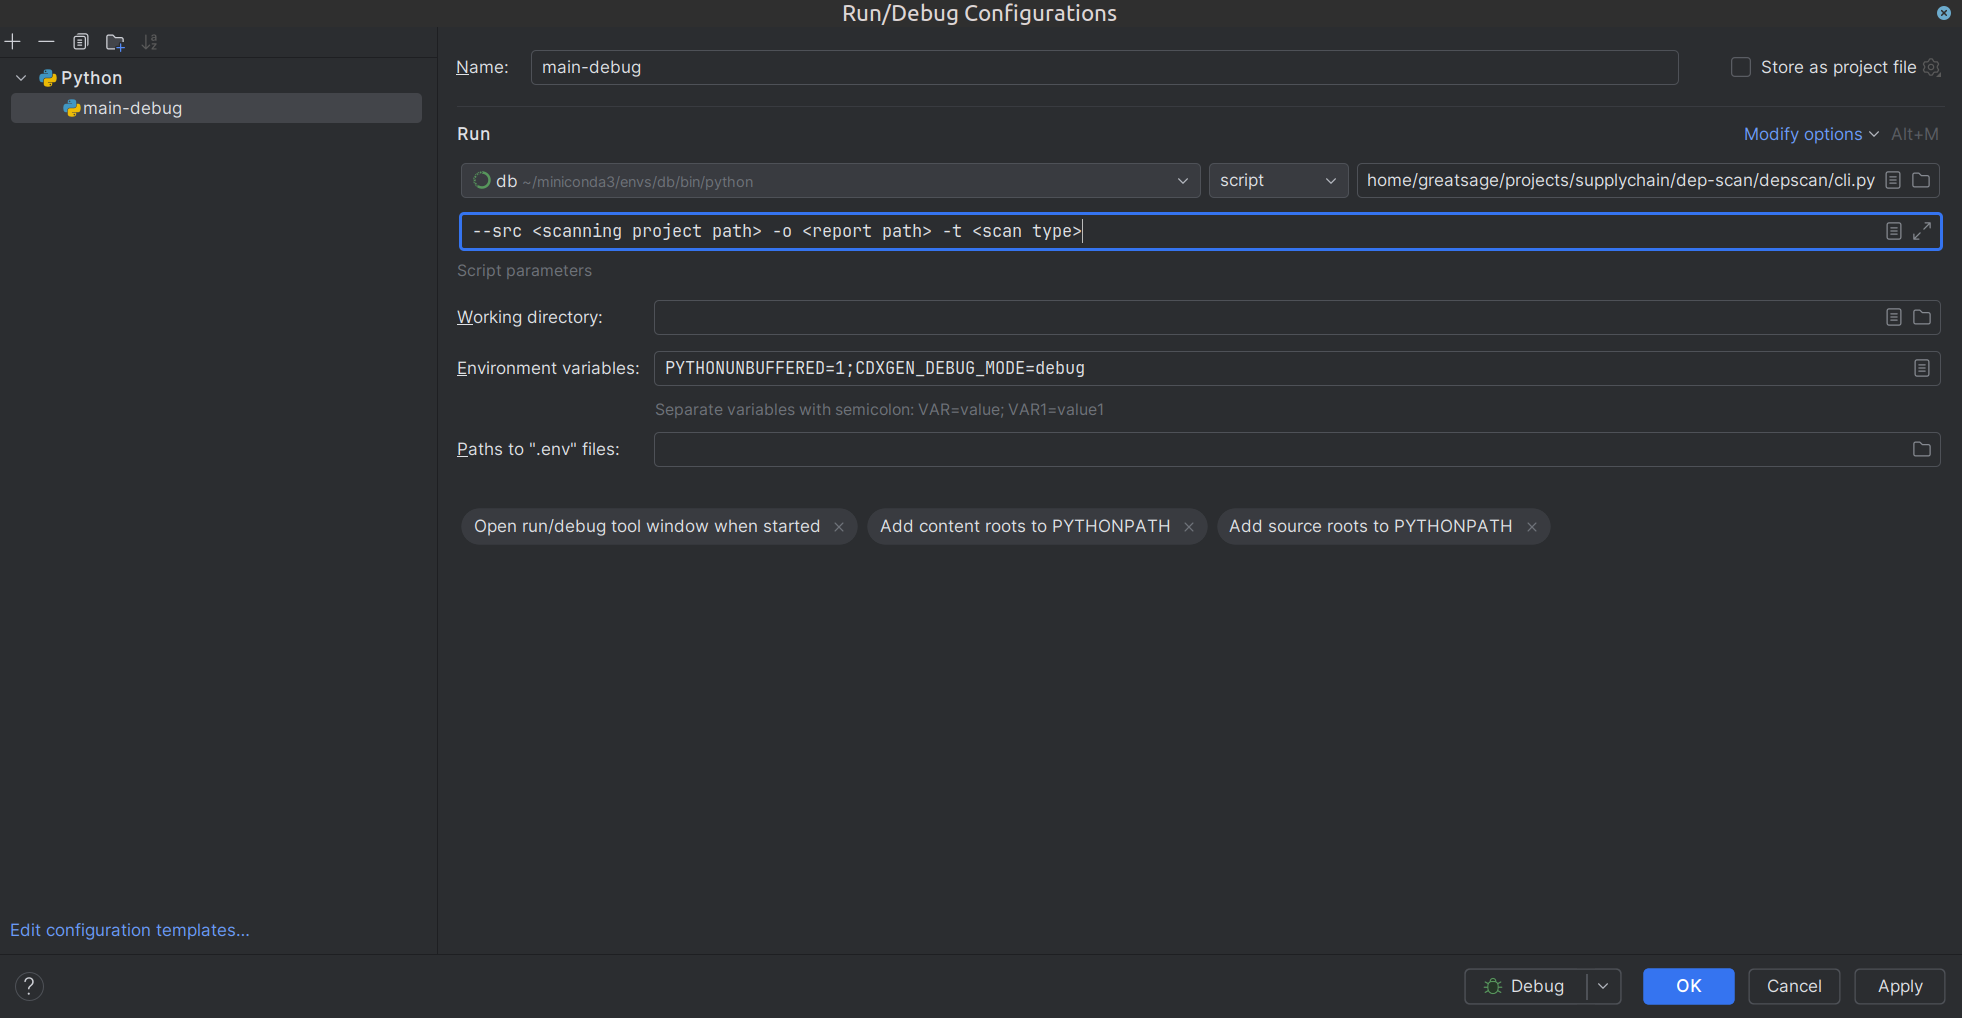
- Press the debug button.

- Success!! 🥳